Organizing the Family Room

If you are fortunate enough to have a family room, you know that it can easily get overwhelmed with stuff. This room usually serves multiple purposes. Here’s how to take your family room from chaotic to calm:

  • Make a list of all the ways you use the room, and try to group activities into “zones.” You might have zones for watching TV, reading, building LEGOs, or playing games.

  • Once the zones are defined, only put those items that go with that zone. Media goes in the TV zone, books in the reading zone, and games in the game area.

  • Go zone by zone to figure out what belongs in the area. Grab a box and a trash bag, and start to pull out items that can be recycled and tossed. Set aside a bag or box for items to donate. Games your kids don’t play any more? Put in the donate pile. Old photo albums you’ve been meaning to add to, put in a box in a closet or other room. Piles of paper? Sort and recycle as much as you can.

  • You may want to define a zone within a the room by using different rugs and furniture. Comfy chairs and a bookshelf in the reading zone. A small table for the LEGO area.

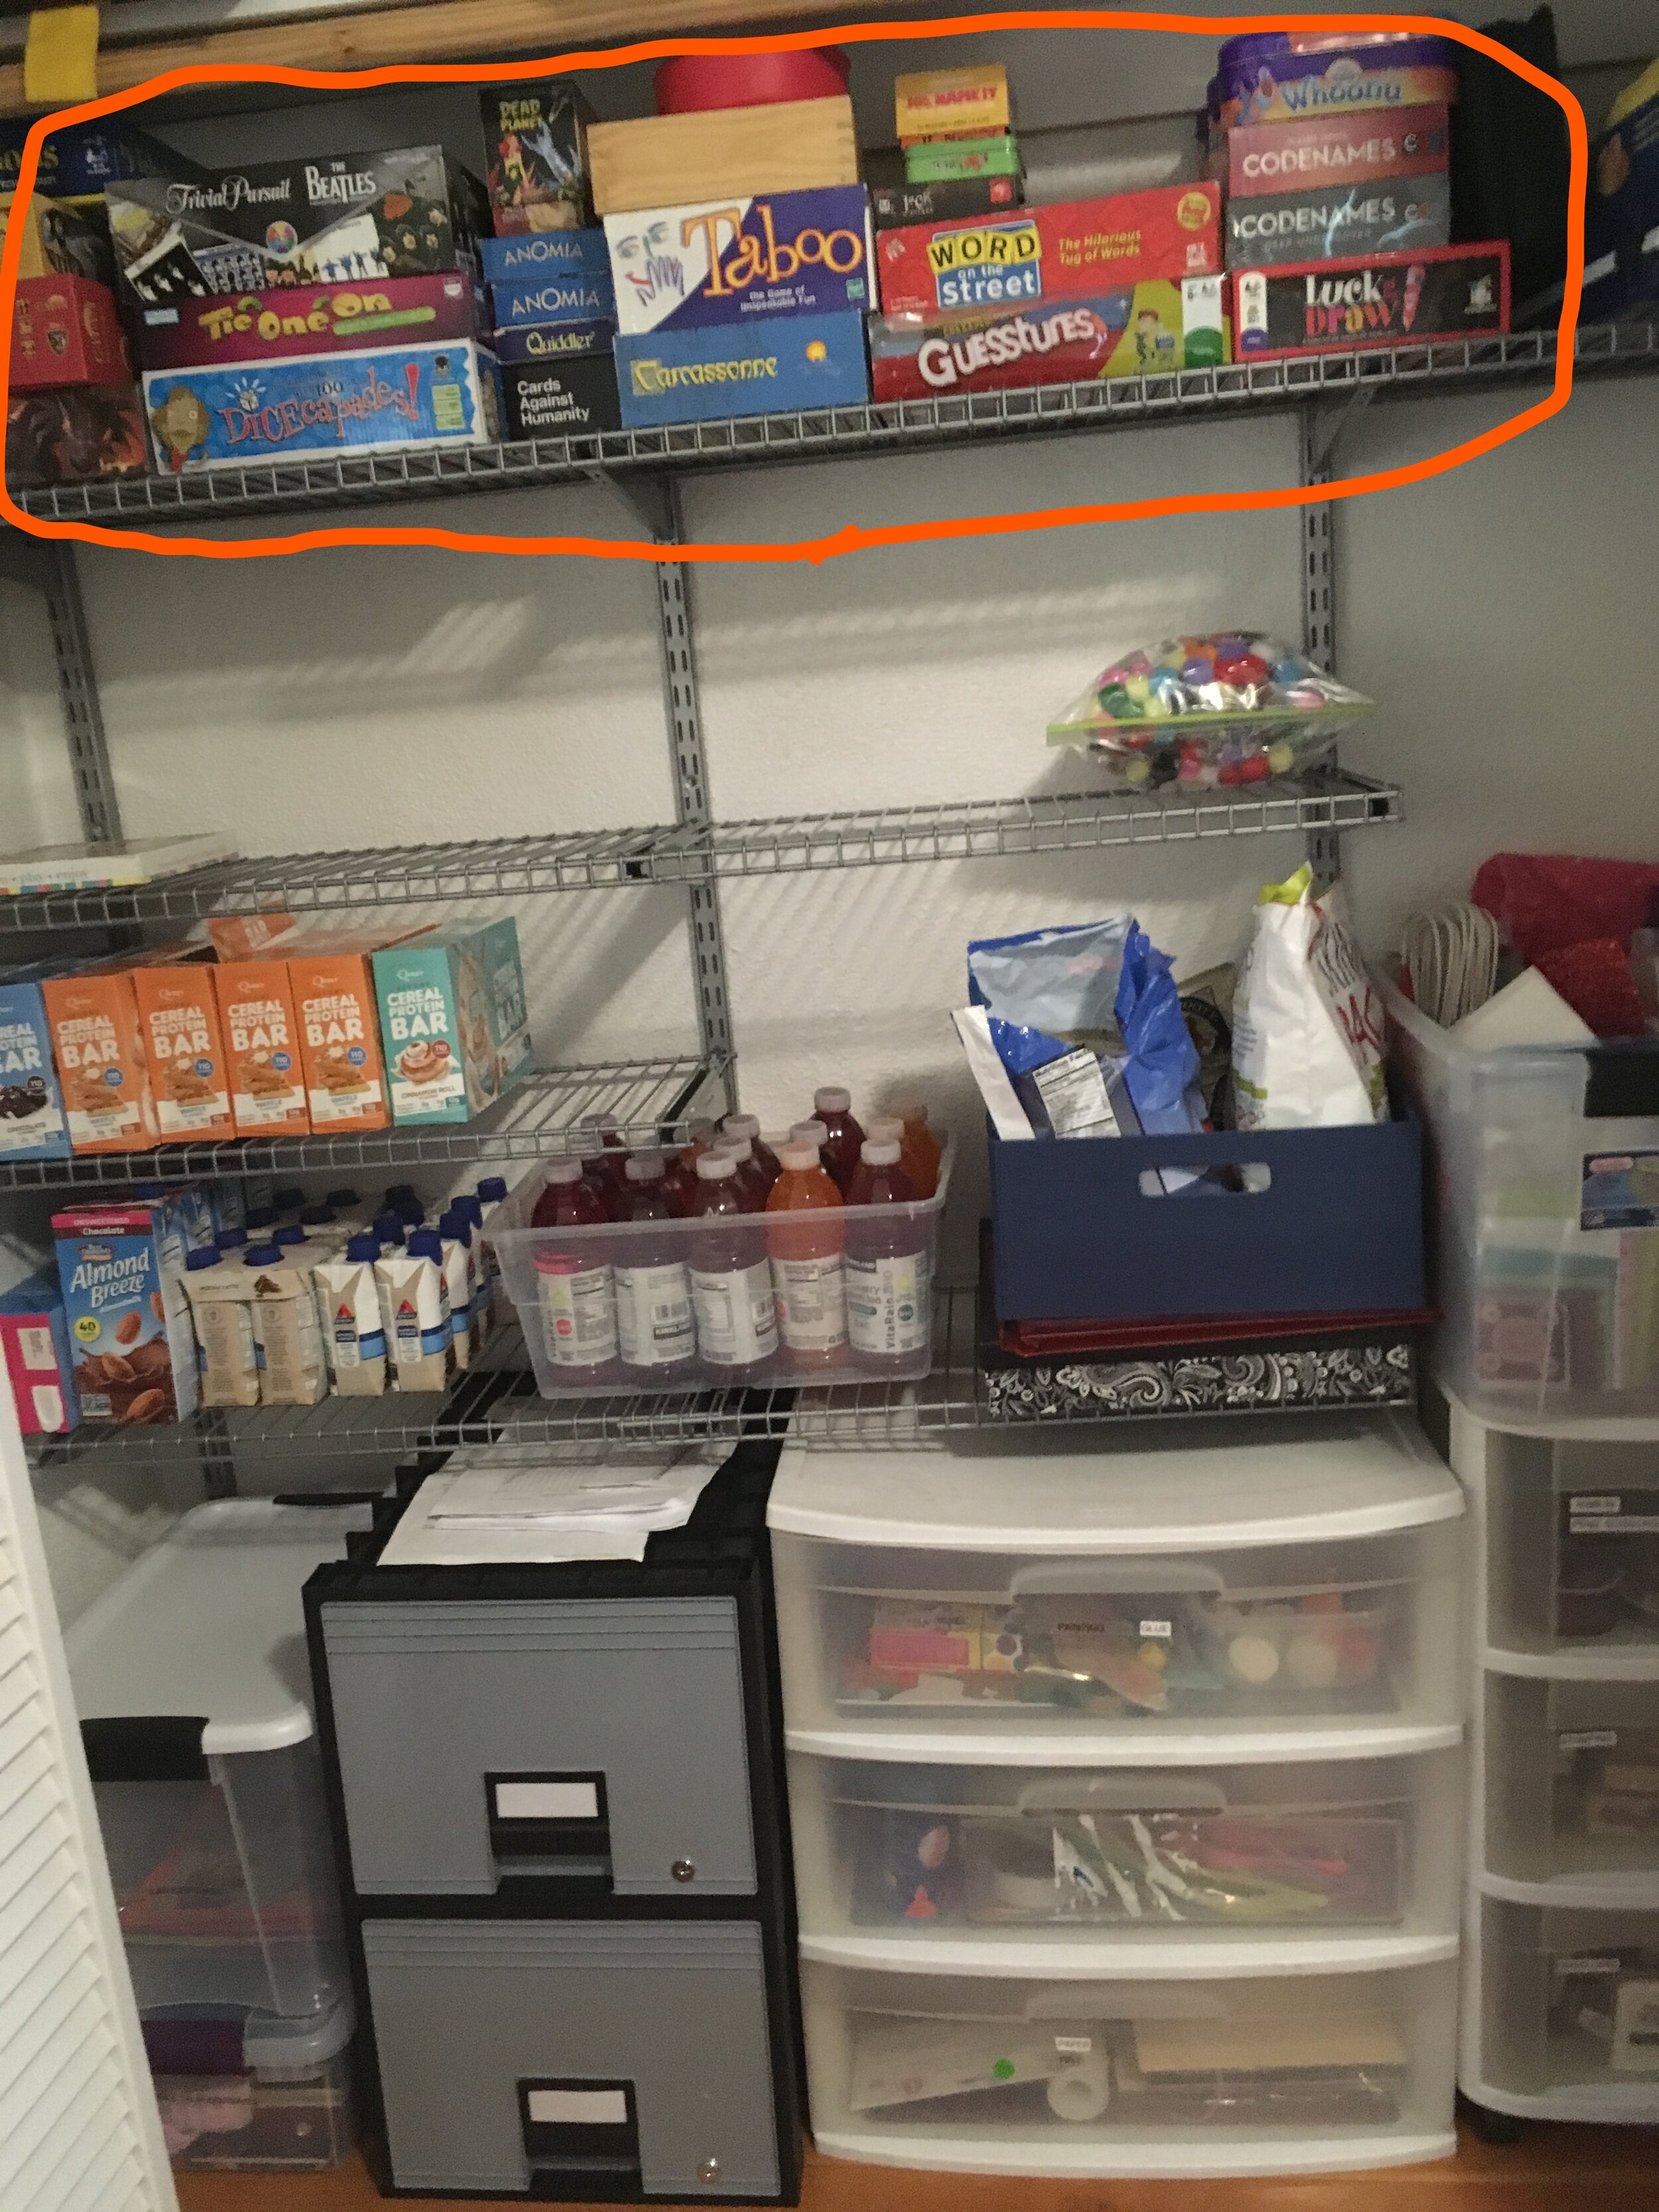
  • How you use the family room will change over time. Get bins you really like (you’ll use them more) and that can be used to hold different items. Shelves and storage ottomans are always good options.

  • Label your bins, and even your shelves, so everyone in the family knows where things go.

Every six months you’ll probably need to do a de-clutter of the family room. Weed out things your family doesn’t use and donate, get rid of any trash, and see what is piling up. It should be much easier to maintain the space once you’ve set up the zones and have the organization systems in place.
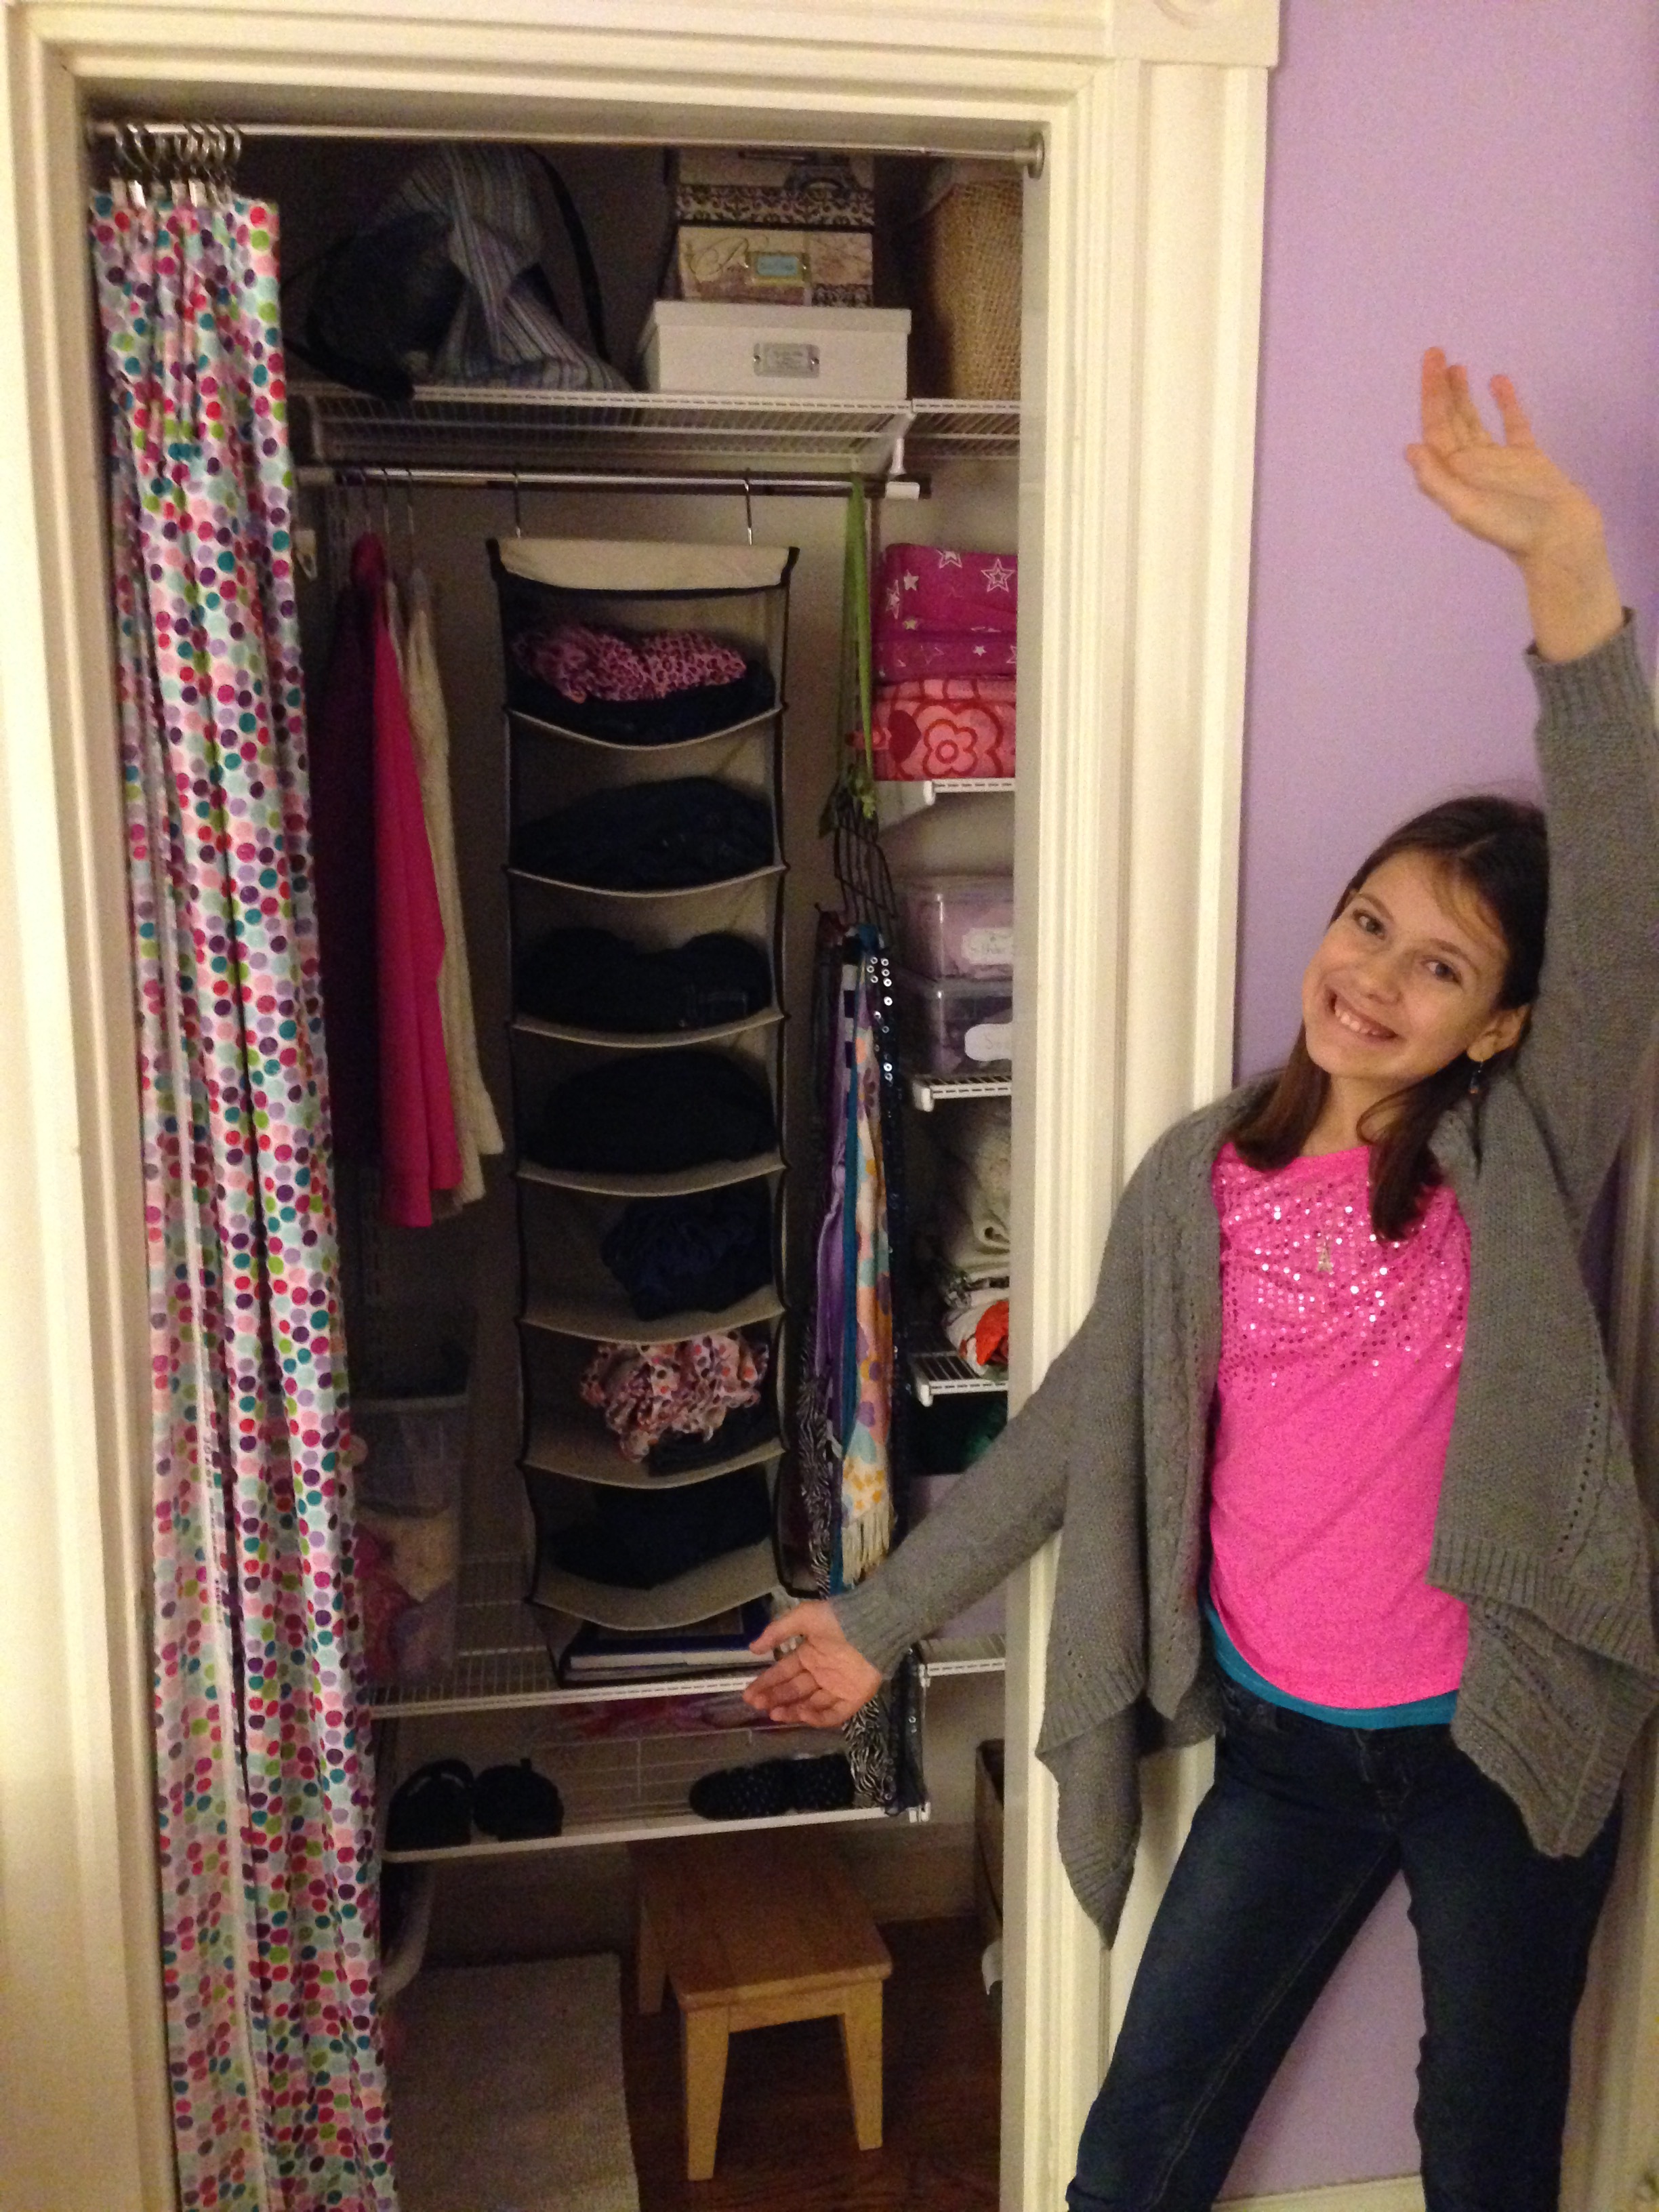
Reading corner

Reading corner

Organizing Running Gear

I’m a runner and usually run in the morning, often before the sun is up. I have to get my run or exercise class in first thing in the morning or else it won’t happen!

Getting up early means I’ve got to be organized with my running stuff. Here’s how I do it:

  • I have a drawer (Ok, drawer and 1/2 another drawer) dedicated to my running clothes -capris, leggings, shirts, and bras are all in one spot. To get my shirts to fit, I use Marie Kondo’s method of folding shirts. Keeping everything that I need to put on in one spot makes it easy to get ready, even if I’m half asleep. I do usually try to put out my outfit the night before.

  • Downstairs in my small mudroom area, I have a bin for my gear. This includes outer layers of different weights, hats/ear warmers, water bottles, and other running accessories.

  • In the bin I have a tote bag with the running things I use most often: it’s only used for running gear and I try to keep it stocked. If I’m driving to a spot to meet friends for a run or I’m going to a race, I always take this bag. Within the bag I use smaller zippered pouches to keep similar items together.

  • My shoes are right near the back door in this same mudroom area, along with my keys, so I can put on my shoes, grab my keys and get out there!

What can you do? You don’t have to fold your shirts a specific way to get out the door in the morning. Here are some tips to try:

  • Store the things you use for a certain activity in a dedicated spot - whether it is a drawer, a shelf, a cubby, or a bag.

  • Then put the things back in this spot and you’ll know they will be there when you need it next. This is key to making your systems work!

  • Use smaller bags to organize/keep things together within a bigger bin or bag. Clear quart or gallon bags can work well.

  • Keep similar items together - shirts with shirts, shoes with shoes.

  • Keep items near where you use them - shoes and keys near the main door.

If you need help setting up a system for your stuff, contact me today.

Running clothes drawer.png
bag.jpg.png
IMG_3051.JPG

Routines: The Secret to an Organized Morning

Mornings can be the hardest times for families. Parents need to get ready themselves, AND make sure their kiddos are ready to go.

One client, who also happens to be a teacher, made this simple but effective chart for her son. It hangs right near their front door, and is a reminder of the key things he needs to do before they leave the house. With velcro squares underneath each task, the son can move his Batman sticker along and remember what needs to be done.

What I love about this kind of chart is that it can build a child’s independence, and also save the parents from having to repeat the same things morning after morning. While this may not work every day, it is a great tool to use.

Here’s are similar checklists my husband created for my daughter to remind her of her morning and bedtime routines. What works to help your kids stay organized?

 
Checklist Bedtime.JPG
NoaKidsSchedule.jpg
 

Organizing Games, Not Just for Kids

Board games are more popular than ever, and not just for kids anymore! I helped a client create game storage in a closet in an extra room. Many of the games had been in her child’s nursery, but as the child was getting older they needed more space in her bedroom. And if the games were in the child’s room and she was sleeping….no one went in to get something to play.

Our solution was to get all the games into one area where the parents could access them at any time. A closet downstairs was going to be the new spot.

First we cleaned out the excess in the closet. It already held craft supplies, wrapping paper, and was overflow pantry storage (the room is right off the small kitchen). Next, we gathered all the games from upstairs, sorting between games for grown ups and the kids games. Then we set them on the closet shelf to be easily visible.

Now the parents are ready for game night! And even the snacks and drinks are close by.

Bonus: Read more of my tips for organizing games.

GameCloset.jpg

Crafty Storage

Craft closets are one of my favorite organizing projects! I love turning the jumble of items into cohesive order, which then helps my clients be more creative. If you can find your supplies, you can work on your craft projects!

This client had different kinds of craft items to corral, including paper projects, stamping, wrapping paper, beading, and balloon making. I forgot to take the “before” shot, but we enjoyed looking at the “after” once we were done.

Fortunately the client had a reach-in closet which makes it very easy to see what she has - at least once items are stored in bins and the excess was cleared. We also tried to store items that get used together next to each other.

Here’s another post on how I organized my own craft closet. If I can help you boost your creativity by organizing your craft or hobby supplies, send me an email.

20190316_163721802_iOS.jpg

A Super Simple Way to Organize Memories

No time to scrapbook? Try a “scrapalope”! This fun idea came from a client who, pre-kids, had more time to save memories in a scrapbook. Since life has gotten busier, she’s adopted a new system: she uses a clear, plastic envelope to store memories and calls it the “scrapalope.”

I love this super simple way to organize memories. She can have an envelope for each of her kids, one for herself, even one for special events or trips. And she told me that if she has time someday, she’ll have all the items together to put into a scrapbook.

Right now she’s creating one for her kids by date, and including special artwork, notes, and other little items she wants to save.


20190316_144629557_iOS.jpg

Organizational Keys to Kindergarten: Getting Ready for School Days

This week I was helping a client get organized before her daughter starts Kindergarten this fall. This can be such a big transition for a family, and may even be harder for the parents than the child! A child starting school for the first time can mean a whole new set of organizational demands for a family. Now there are backpacks, papers that have to go back to school, and even bus schedules to contend with.

Here are 3 key organization challenges to plan for, before back-to-school:

  • Where will the backpack go? Is there a hook or cubby where your child can put her backpack each day? My daughter started putting her backpack in a basket in elementary school and this still works for her in high school. Having a designated spot helps you - and your child - know where to go each morning for the backpack.

  • Where will the jacket/coat/shoes go? You may have this set already, but if not, consider hooks that your child can reach. As your child starts school, you want to build their independence not only at school, but at home.

  • Where will the papers that come home from school go? This can be a huge challenge for families. You’ll need to find a spot for the school work/artwork to go (recycle some!), and a place for papers that you need to send back to school. And don’t forget about papers that come home that you may need to reference again. A desktop file can be a great way to keep these papers sorted.

If your family is feeling overwhelmed with back-to-school set up or routines, I’m here to help! Contact me today.

DeskTopFile.jpg

Kondo'd Your House? Now Get Rid of the Stuff

Have you been following Marie Kondo and clearing out your clutter the past few months? Are you now surrounded by many different kinds of things to get rid of?

Check out my year-long blog series from a few years ago, “How do I get rid of…”. I share ideas for many specific items that may be harder to figure out how to dispose of or recycle.

And if you have something to get rid of that I don’t mention and need a resource, email me at elizabeth@thatsneatorganizing.com and I’ll research it for you.

Happy (almost) Spring!

 
dancecostume.jpg

How to Organize a Teen Girl's Clothing Closet

My high-schooler generally wants me to stay away from her closet. But recently she let me help her, a little bit, to review what was in her closet and purge out some things that didn’t fit or that she just never wore. Why? She realized she was nearly out of room for new sweaters since her closet was already stuffed.

While working with my girl, I realized there are 5 keys to organizing a teenager’s closet:

My girl and her updated closet from several years ago (Preteen )

My girl and her updated closet from several years ago (Preteen )

  1. Put what she wears most often front and center. Shelves or the clothing bars that are the easiest to reach should hold the clothing that is used the most.

  2. Have options besides the hanging bar. Does your teen need space for folded sweaters, pjs, sports gear? Would bins or hooks work better than clothes on hangers?

  3. Keep it simple. If the closet ends up with bins for categories of clothing that’s fine. Clothes don’t have to hang from the bar. If the closet doors never open easily, take them off and use a curtain instead. See what simple system works for your kid.

  4. Weed out clothes regularly, at least each spring and fall. Model the same behavior for your teen—maybe you have a day when everyone in the house cleans out their closets. Then have your child come with you when you donate the extra clothing.

  5. Include a laundry hamper. Make sure there is a bin, basket, or hamper in your teen’s closet. If they can drop clothing on the floor, they can drop it in the hamper.

Make sure to involve your teen in any closet changes or upgrades. Maybe she can paint the inside of the closet a cool new color, pick out fun fabric for closet curtains, or select new bins. Getting her involved in the process of organizing, selecting storage, deciding what to keep and donate, will help you have closet success!

Lessons Learned from Marie Kondo's "Tidying Up"

Have you tuned in yet to the new Netflix show, “Tidying Up” with Marie Kondo? It seems everyone has been watching the series, so I had to watch also. The show is based on Marie’s best-selling book, The Life Changing Magic of Tidying Up. Marie, a self-proclaimed “tidying expert” prescribes a very specific process to clear your space. If you follow the KonMarie process, Marie asserts your clutter will be gone forever.

Watching real people on the show—people just like my clients—implement the KonMarie method was fascinating. While I am not sold on her one-size-fits-all approach to decluttering and organizing, there are lessons to be learned (beyond Marie’s method for folding):

  1. Make time to organize. The clients on “Tidying Up” were successful in their organizing projects partly because they set aside the time to declutter and organize. For some of them it took many weeks and months. While I’m not suggesting you quit your job and just work on getting organized, setting aside consistent blocks of time will help you reach your organizing goals faster.

  2. Be clear on your motivation. The clients on the show each had their own reasons to get organized. From merging households, to moving or downsizing, Marie helped the families bring forth their motivation for getting organized. This is another important component for success at organization—keep in mind why you want to get organized. Is your stuff holding you back from bigger and better things?

  3. Trust your decisions. I work a lot with clients to help them make decisions and trust in those decisions. “Tidying Up” showed that while decision making can be challenging, once you get going, it often gets easier. You can build momentum, starting with small decisions and working up to the harder ones. And once you decide to let something go, take the steps to get it out of your house and move it on.

Have you watched the show? Has it inspired you to get organized?

Kitchen Trouble Spots: What I'm Organizing Now

January is designated as “Get Organized Month” by the National Association of Professional Organizers (NAPO), and it’s no surprise that Netfix released “Tidying Up with Marie Kondo this month too. January can be a great time to get organized, as many of us want a “fresh start” to the new year.

What am I organizing now? While my kitchen tends to be pretty organized, in the past week I’ve identified three trouble spots that I’ve tackled—or plan to address:

  • Water bottles and plastic cups: Do plastic water bottles secretly multiply while we’re sleeping? Our bin for these was overflowing, so I got my whole family involved to pick out our favorites and toss some. It was harder than I thought it would be, but we were able to narrow down our collection to a more reasonable amount.

  • Beer glasses: My husband is a home-brewer, and we often visit breweries locally or when on vacation. This has led to an over-abundance of beer glasses. I’m talking pint glasses, tasting glasses, goblets, pilsners, weizens. We have the glass for every kind of beer. The “collection” has expanded from its original location, so while working on the plastic glasses, I realized the beer glasses were now in a second location. I decided to count them, and was shocked to discover that we have 46 beer glasses. For two people in the house who drink beer. And while we often have many more people over who drink beer, this number of glasses seems excessive. This issue is that many glasses remind us of events or locations: that trip to Mt Rushmore, my first 10K trail run, our engagement party, so they may be hard to part with. I’m honestly not sure yet how to tackle this challenging project, and I’ll need to involve my husband in the process. Stay tuned!

  • Cookbooks: This is another area that’s on my radar as my girl loves to cook and bake, and received several new cookbooks for her birthday and then for Christmas. Now they won’t fit in the shelf we had dedicated to her cookbooks (yes, just her cookbooks). I have several shelves for other cookbooks, many of which I use all the time, and others not so much. As with the glasses, some of the cookbooks are sentimental as they were gifts from special people. or connect us to a trip or event. I haven’t counted them yet, but do plan to thin out our collection to ones that we really use and treasure.

What are you organizing this month??

 
20190213_011904195_iOS.jpg
 
20190213_011916554_iOS.jpg

At the Ready: Organization for Everyday Items

Recently a friend staying with me shared an observation about my home: when she needed a pen, there it was…or a pair of scissors, exactly where she needed them. Her remark made me realize that I had organized my home for the little every day items that we need.

Where do I keep paper and pen?

  • Near the phone

  • In the kitchen (where a small drawer is filled with paper pads, sticky notes, pens and pencils)

  • Next to my bed; read more about organizing your bedside table

  • In the bathroom, for all those great ideas that you get in the shower

Where to keep other important items:

  • Scissors on every floor, near the paper and pens (having duplicates comes in handy)

  • Essential tools, like small screwdrivers, tape measure, flashlight in the kitchen in my “junk drawer

  • Keys near the back door

  • Chargers in the kitchen

These are small items, but it can be frustrating when we can’t find them when we need them. Try to organize the essential everyday items in your home and feel more in control.

Recycle Holiday Lights

20171216_001235361_iOS.jpg

How to get rid of holiday lights? Older holiday lights can be fickle: one minute they work, the next they don’t. Or maybe you’ve replaced all your old Christmas lights with new LED versions.

If you have holiday lights to get rid of, don’t throw them out: take them to the Home Depot. According to their website, they “offer recycling programs for rechargeable batteries, CFL bulbs and old incandescent holiday light strings.”

With Home Depot locations all over, this seems like a great option for recycling lights.


4 Tips for Holiday Shopping

Does holiday shopping stress you out? Do you feel like you spend time shopping in stores or online, but don’t get what you need? Here are four ideas for better holiday shopping:

  • Shop with a list: Use a list when you shop to help keep you focused. If you do the thinking/planning before heading to the store, you’ll save time and money. It can also help when you are online shopping!

  • Even if it’s on sale, if you don’t need it, it’s not a bargain.” I heard someone say this on the news this week, and it is great advice! Don’t buy something just because it’s on sale. Ask yourself: Do I need this? When will I use it? Do I know where I’ll keep it?

  • Shop at home first. Do you have a “gift” closet or bin (or lots of bins)? Do your shopping for gifts here before buying more. Be sure gifts for kids you are saving are for the right age. If not, donate them.

  • Don’t shop for things, shop for experiences. Experiences or memberships are some of my favorite gifts to get and to receive. Museum memberships, movie gift cards, classes, or a day out with the gift giver are gifts that anyone would enjoy receiving.

  • Bonus tips on list-making: Making an Effective List Add a Photo to Your Digital List

gift box.jpg

Organize Your Kitchen Like Julia

Both my parents enjoyed cooking, and loved Julia Child’s “Mastering the Art of French Cooking.” I watched her cooking show on PBS, and made a point of seeing her kitchen in the Smithsonian. Julia was not only a master chef, but a master at organizing her kitchen.

One of my clients was very good friends with Julia and Paul Child, and I noticed that my client’s kitchen was set up and organized similarly to Julia’s (see photos).

Here’s how to set up your kitchen a la Julia:

  • Keep what you use the most easily accessible. Julia used pegboard in her kitchen, so did my parents, and this client. If you have the wall space to do this, it’s an excellent strategy, especially for people who lose track of items in cabinets or drawers.

  • Use the vertical space in your kitchen. The peg board accomplishes this, as do hooks (see photo), or a pot rack that hangs from the ceiling. Open shelving is very popular now, and can also help make the most of vertical space.

  • Consider labels. In photos I’ve seen of Julia’s kitchen, she has labels on her utensil crocks, and on her wall near her knives. I’ve used labels in my pantry and on small bins in cabinets. They can be helpful reminders of what goes where.

  • Function over form. Julia set up her kitchen to be functional, and customized it to fit her needs. Make sure your kitchen works for how you use it.

  • Create zones for key activities or similar items. Here’s a past post about how I set up a corner for my tea supplies.

IMG_9752.JPG
IMG_9755.JPG
 

Organize the Backpack

My #1 tip for keeping your student organized: reset the backpack weekly.

Every week, yes every week, make sure your student cleans out her backpack. Have your student take out all the projects and papers, and make sure there aren’t any completed assignments or forgotten HW crumpled in the bottom of the backpack.

Also clean out any gym clothes, food containers, or other items that have accumulated from the week.

Cleaning out or “resetting” the backpack is a simple - but critical - routine to keep your student organized for school.

BackpackBasket.JPG

Organizing the Linen Closet

Even if you are lucky enough to have a linen closet or two in your home, you know they can easily become a black hole of stuff! I wrote recently about how I updated my closet, here’s how to keep it organized:

  • To start, take everything out. Sort out what really belongs in the linen closet, and clear out all the things that can get stored elsewhere.

  • Put like with like: sheet sets together, bath towels together, pillows together…you get the idea. Do you have more than you need? Some say to keep only 2 sets of sheets per bed in your home, and 2 sets of towels per person.

  • If it’s challenging to keep your sheet sets from getting mixed up, try this trick: store the sheets in one of the set’s pillow cases. If you like to keep all your flat sheets together, pillow cases together, store them in canvas bins.

  • Put aside any linens you never use and donate them. Many pet shelters look for donated sheets and towels. There may also be places in your town to recycle textiles. Our town has fabric recycling bins at every elementary school.

  • If you have toiletries or cleaning items in the closet, get appropriate containers to corral the items. I have used clear shoe boxes for toiletries, and just got new reach-in white bins for my updated linen closet. My cleaning supplies are in a crate on the bottom of the closet, and can easily be pulled out when needed.

The linen closet is one of those spaces that needs a tune-up every few months to keep it organized.

 
IMG_0889.JPG

Organizing for a Disaster

September is disaster preparedness month. While no one likes to think a disaster might occur in their area, it is important to be prepared. Here in New England we get blizzards, hurricanes, and flooding. This week I heard a volunteer from the local Red Cross speak about this topic and how families can be prepared.

Here are some simple steps every family should take:

  • Fires are the most common disaster in the home. Do you have a fire extinguisher and can you easily get it? Make sure it is it still has pressure, hasn’t been recalled, and is easily accessible.

  • Important documents: Do you have important papers in a safe place that you could easily grab if you needed to leave your home? I have helped many clients set up an “important papers” file or even better, fireproof box, to store vital documents such as titles, wills, and passports. If you are using a fireproof box you may also want to include some family mementos or irreplaceable jewelry.

  • Speaking of mementos, consider digitizing your photos so you have duplicates of your most important photos backed up to the cloud or offsite. Want o digitize them at home? Read my review of this gadget. I can also help you sort, organize and digitize your photos; I also have a great local resource for photo digitizing—no need to mail off precious photos!

  • Do you have a safe deposit box? Here’s my blog post on how to organize your vital documents.

  • Smoke/C02 detectors: Change your smoke detectors every 10 years. Be sure to change the batteries at least once a year. Do it when you change your clocks in the fall and spring, and they will always be up to date.

  • Don’t forget to make an emergency plan for your pets. Get ideas from the Red Cross.

For more ideas on how to prepare your home and family in case of a disaster, read more ideas from my blog here and here.

Updating my Linen Closet

Recently we had our bathroom completely updated. As part of the renovation, we took some space from a nearby linen closet. This meant the closet was demolished to the studs, and new walls installed. With a coat of fresh white paint, this storage space was getting a makeover.

It was so fun to design a closet from start to finish (yes, this is what professional organizers get excited about). I considered the shelf options, and decided again to install an Elfa system from The Container Store. I’ve written before about how I love this closet system for bedroom closets, I was now going to give it a try for my new linen closet.

The heavy wooden, immovable shelves were replaced with adjustable elfa solid shelving. In the former closet there was a lot of space between shelves. I kept lots of toiletries in plastic shoe boxes and had to stack them on top of each other to efficiently use the space, but it was a pain to have to move the top box to get what was in the bottom. With the new elfa configuration, we were able to add another shelf - no more stacking!

I could also set the height of the first shelf to be high enough over what I wanted to store on the bottom. Instead of having the heavy stuff on the top shelf in the old closet, they could sit safely on the bottom. The light linens are now on top. And if my needs change, the shelves can move up or down.

I also decided that my new closet deserved a new set of bins. These easy reach-in bins keep all our toiletry items corralled. I labelled each so my family would know what goes where. I’m sure it won’t stay this organized, but it will be a much easier closet to use.

Closet Before

Closet Before

New Walls, no shelves

New Walls, no shelves

elfa installed

elfa installed

finished closet

finished closet

Organizing a Renovation Project

After 12 years in our home, we finally had our main bathroom renovated. While we made a few improvements to the space when we moved in (good-bye lighthouse wallpaper border!), our 80s era bathroom was falling apart. It was a big, stressful project that felt completely overwhelming at times. Here’s what I did to try to stay organized:

  • I took before/after photos, and photos of the project in progress. Seeing the “before” photos reminded me how much progress had been made, even if it didn’t feel like much had changed.

  • The contractors gave us a project binder with all the key paperwork. As I collected furniture and fixture flyers, paint chips and swatches, I added those too.

  • I also kept a smaller plastic bin for tile samples, catalogs, and other items related to the project that wouldn’t fit in a binder. This was a temporary holding places, as most of the items weren’t needed once the project was complete.

  • My husband set up a shared folder on google. Our expense spreadsheet went there. We also uploaded any photos we took of fixtures at bath stores to the folder.