Crafty Storage

Craft closets are one of my favorite organizing projects! I love turning the jumble of items into cohesive order, which then helps my clients be more creative. If you can find your supplies, you can work on your craft projects!

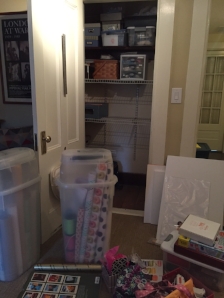
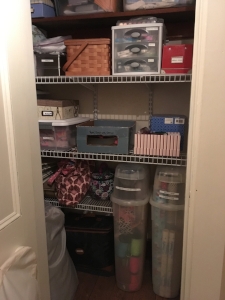
This client had different kinds of craft items to corral, including paper projects, stamping, wrapping paper, beading, and balloon making. I forgot to take the “before” shot, but we enjoyed looking at the “after” once we were done.

Fortunately the client had a reach-in closet which makes it very easy to see what she has - at least once items are stored in bins and the excess was cleared. We also tried to store items that get used together next to each other.

Here’s another post on how I organized my own craft closet. If I can help you boost your creativity by organizing your craft or hobby supplies, send me an email.

20190316_163721802_iOS.jpg

Organizing the Craft Closet

The sorting process

The sorting process

At the start of the new year my girl was busily weeding out the "kid stuff" from her room to make more space for new books and holiday gifts (I know, I'm lucky...she also likes to sell the things she outgrows, but that's another blog post). I took a cue from my daughter and decided to clean out our craft closet, a space that doesn't get used as much as it did a few years ago. It also holds our inflatable guest bed and wrapping paper, and had gotten a bit overstuffed.

I took everything out (even the hard to reach corners) and started to sort. As I sorted I asked myself, what did we use? what hadn't we touched? what craft kits or projects had my daughter outgrown?  I had a good pile of things to go away and a stack of containers to go back in. The stuff in the containers was fairly sorted, but I did a quick once over and got rid of some old construction paper, party decorations and used-up markers. 

Clearing the space meant there was more room on the shelves for the items I wanted to keep. I made sure they all had accurate labels to help everyone in the house know what was inside. I also had removed enough stuff from the floor that the inflatable bed fit better on the left side, and now I had easy access to my wrapping paper. 

All done!

All done!

The whole process took me about an hour. It was a closet I had avoided for months, but focusing on this one space meant I was able to accomplish the task.